Using JupyterLab
Overview
Teaching: 15 min
Exercises: 0 minQuestions
How can I run Python programs?
Objectives
Login to JupyterHub server.
Interact with JupyterLab interface.
Make new directory.
Create a new Python script.
Shutdown the JupyterLab server.
Getting Started with JupyterLab
While many software developers will often use an integrated development environment (IDE) or a text editor to create and edit their Python programs we will be using JupyterLab during this lesson.
JupyterLab is an application with a web-based user interface from Project Jupyter that enables one to work with documents and activities such as Jupyter notebooks, text editors, terminals, and even custom components in a flexible, integrated, and extensible manner. JupyterLab requires a reasonably up-to-date browser (ideally a current version of Chrome, Safari, or Firefox); Internet Explorer versions 9 and below are not supported.
We will access JupyterLab through a cloud-based server called JupyterHub (our instance was made for us by the organization Unidata), which will cut down on the technical problems you may face while installing JupyterLab on your computer. However, JupyterLab is also included as part of the Anaconda Python distribution which is a free program for running python-language code (similar to how bash and zsh are programs that run the bash programming language). Instructions on installing and running Anaconda/JupyterLab on your personal computer can be found on the [setup page].
JupyterLab? What about Jupyter notebooks?
JupyterLab is the next stage in the evolution of the Jupyter Notebook. If you have prior experience working with Jupyter notebooks, then you will have a a good idea of what to expect from JupyterLab.
Experienced users of Jupyter notebooks interested in a more detailed discussion of the similarities and differences between the JupyterLab and Jupyter notebook user interfaces can find more information in the [JupyterLab user interface documentation][jupyterlab-ui].
Starting JupyterLab from JupyterHub
Logging in to JupyterHub
The website address for our JupyterHub is https://js-171-170.jetstream-cloud.org/. Please log in to JupyterHub using the username you choose from the previously shared Google sheet. The passwords for the accounts are also found on that google sheet. You should see the following login page:
NOTE While it takes a bit to load, sometimes you will encounter a spawn failed error or 500 internal server error. If you encounter the spawn failed, refresh the page. It should then show a Page that shows 500 internal server error page. Please click the “home page” link on that page. This will give you a “start server” button. Click the start server button and your JupyterHub should load properly.
Spawn failed error, restart page:
Internal Server Error, click home page:
Back to Homepage, click start my server button
The JupyterLab Interface
JupyterLab has many features found in traditional integrated development environments (IDEs) but is focused on providing flexible building blocks for interactive, exploratory computing.
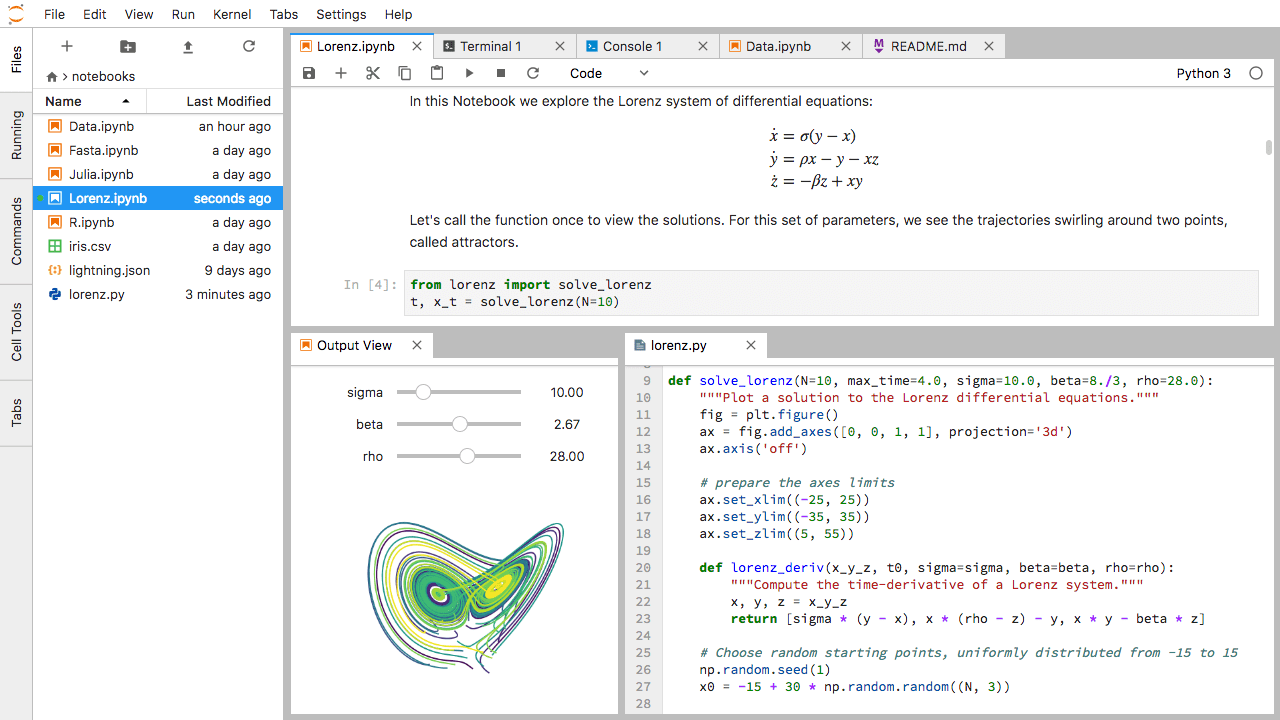
The JupyterLab Interface consists of the Menu Bar, a collapsable Left Side Bar, and the Main Work Area which contains tabs of documents and activities.
Menu Bar
The Menu Bar at the top of JupyterLab has the top-level menus that expose various actions available in JupyterLab along with their keyboard shortcuts (where applicable). The following menus are included by default.
- File: Actions related to files and directories such as New, Open, Close, Save, etc. The File menu also includes the Quit action used to shutdown the JupyterLab server.
- Edit: Actions related to editing documents and other activities such as Undo, Cut, Copy, Paste, etc.
- View: Actions that alter the appearance of JupyterLab.
- Run: Actions for running code in different activities such as notebooks and code consoles (discussed below).
- Kernel: Actions for managing kernels which, as mentioned above, are separate processes for running code.
- Tabs: A list of the open documents and activities in the dock panel.
- Settings: Common JupyterLab settings can be configured using this menu. There is also an Advanced Settings Editor option in the dropdown menu that provides more fine-grained control of JupyterLab settings and configuration options.
- Help: A list of JupyterLab and kernel help links.
A screenshot of the default Menu Bar is provided below.

Left Sidebar
The left sidebar contains a number of commonly-used tabs, such as a file browser (showing the contents of the directory in which the JupyterLab server was launched!), a list of running kernels and terminals, the command palette, and a list of open tabs in the main work area. A screenshot of the default Left Side Bar is provided below.
The left sidebar can be collapsed or expanded by selecting “Show Left Sidebar” in the View menu or by clicking on the active sidebar tab.
Main Work Area
The main work area in JupyterLab enables you to arrange documents (notebooks, text files, etc.) and other activities (terminals, code consoles, etc.) into panels of tabs that can be resized or subdivided. A screenshot of the default Menu Bar is provided below.

Drag a tab to the center of a tab panel to move the tab to the panel. Subdivide a tab panel by dragging a tab to the left, right, top, or bottom of the panel. The work area has a single current activity. The tab for the current activity is marked with a colored top border (blue by default).

Open the Launcher to start the terminal
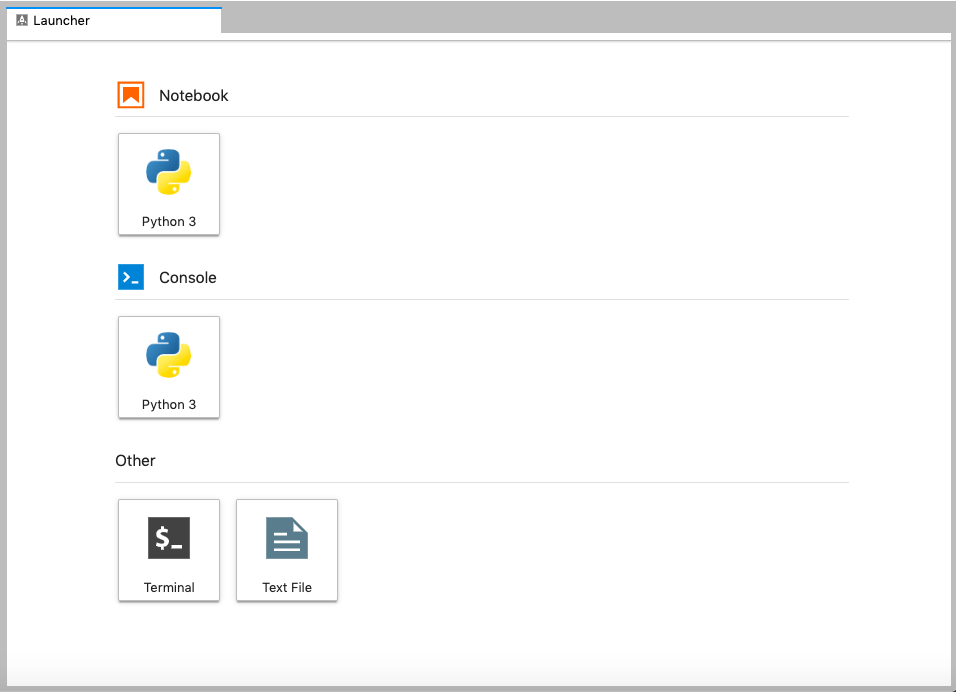
The + at the top left of the page allows you to open a new Launcher. There are options to use a Notebook, Console, or ‘Other’. All represent different environments in which we can run code. The choice of which environment to use depends on personal preference or the kind of task you are working on. We will be choosing the terminal option under ‘Other’ today since we’ve been working with the terminal for Bash. Scrapy is also difficult to run from the Jupyter Notebook option.
Creating a new directory
- In the top menu bar of the sidebar next to the
+to open the Launcher there is a ‘new folder’ button. Click to create a new folder. - You can also use the terminal with the command
mkdir newfoldernamewhile in the directory you want to make the file (same as Bash)
Creating a Python script
There are a number of ways to start writing Python scripts (similar to writing Bash scripts).
- One way to start writing a new Python program click the Text File icon under the Other header in the Launcher tab of the Main Work Area.
- You can also create a new plain text file by selecting the New -> Text File from the File menu in the Menu Bar.
- You can use the terminal to
touchornanoto create a new file - To convert this plain text file to a Python program, select the Save File As action from the File menu in the Menu Bar and give your new text file a name that ends with the
.pyextension.- The
.pyextension lets everyone (including the operating system) know that this text file is a Python program. - This is convention, not a requirement.
- The
*Note you will not need to create new folders and files within a Scrapy project. Scrapy automatically generates files and folders so all you have to do is edit them to match the parameters of the website you are crawling.
Key Points